When it comes to creating a resume, it’s important to make sure that it looks professional and polished. One way to do this is by adding lines to your resume to help separate different sections and make it easier to read. In this article, we’ll show you how to make a line in Word for your resume.
First, open up Microsoft Word and create a new document. Then, click on the “Insert” tab at the top of the screen and select “Shapes” from the drop-down menu. From here, you can choose from a variety of different shapes to add to your document, including lines.
How to Add a Line to Your Resume
Once you’ve selected the line shape, click and drag your mouse across the page to create the line. You can adjust the length and thickness of the line by clicking and dragging the edges of the shape. You can also change the color of the line by selecting it and then clicking on the “Shape Outline” option in the “Format” tab.
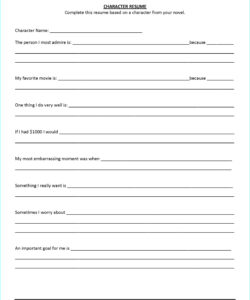
When adding lines to your resume, it’s important to make sure that they’re consistent throughout the document. This means that you should use the same thickness and color for all of the lines on your resume. You should also make sure that the lines are aligned properly and that there’s enough space between them to make the document easy to read.
Another thing to keep in mind when adding lines to your resume is that less is often more. While lines can be helpful for separating different sections of your resume, too many lines can make the document look cluttered and difficult to read. Try to use lines sparingly and only when they’re necessary.
How to Format Your Resume
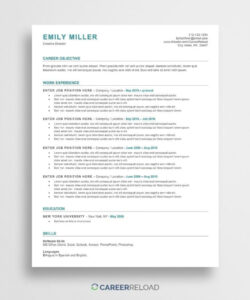
When formatting your resume, it’s important to make sure that it’s easy to read and that the most important information stands out. Here are a few tips to help you format your resume:
- Use a clear and easy-to-read font, such as Arial or Times New Roman.
- Make sure that your headings are bold and easy to distinguish from the rest of the text.
- Use bullet points to break up long paragraphs and make the document easier to read.
- Keep your formatting consistent throughout the document.
Conclusion
Adding lines to your resume can be a great way to make it look more professional and polished. By following the steps outlined in this article, you can easily add lines to your resume in Word. Just remember to use lines sparingly and make sure that they’re consistent throughout the document.
FAQ
How do I add a line to my resume in Word?
To add a line to your resume in Word, click on the “Insert” tab at the top of the screen and select “Shapes” from the drop-down menu. Then, select the line shape and click and drag your mouse across the page to create the line.
What is the best way to format a resume?
The best way to format a resume is to make sure that it’s easy to read and that the most important information stands out. Use a clear and easy-to-read font, such as Arial or Times New Roman, and make sure that your headings are bold and easy to distinguish from the rest of the text. Use bullet points to break up long paragraphs and keep your formatting consistent throughout the document.
How many lines should I use on my resume?
While lines can be helpful for separating different sections of your resume, it’s important to use them sparingly. Too many lines can make the document look cluttered and difficult to read. Try to use lines only when they’re necessary and make sure that they’re consistent throughout the document.


